I recently posted why my family photo sucked. It makes me mad, but hey… when you’ve got 5 second to make a portrait happen. Then you gotta make it so. The gent on the right had to get outta there, so we had to just make it happen. Had the mom-unit been available to stand in the back, this would have been AH-Mazing. However, I wanna share the process.
Here’s the absolute 1st shot:

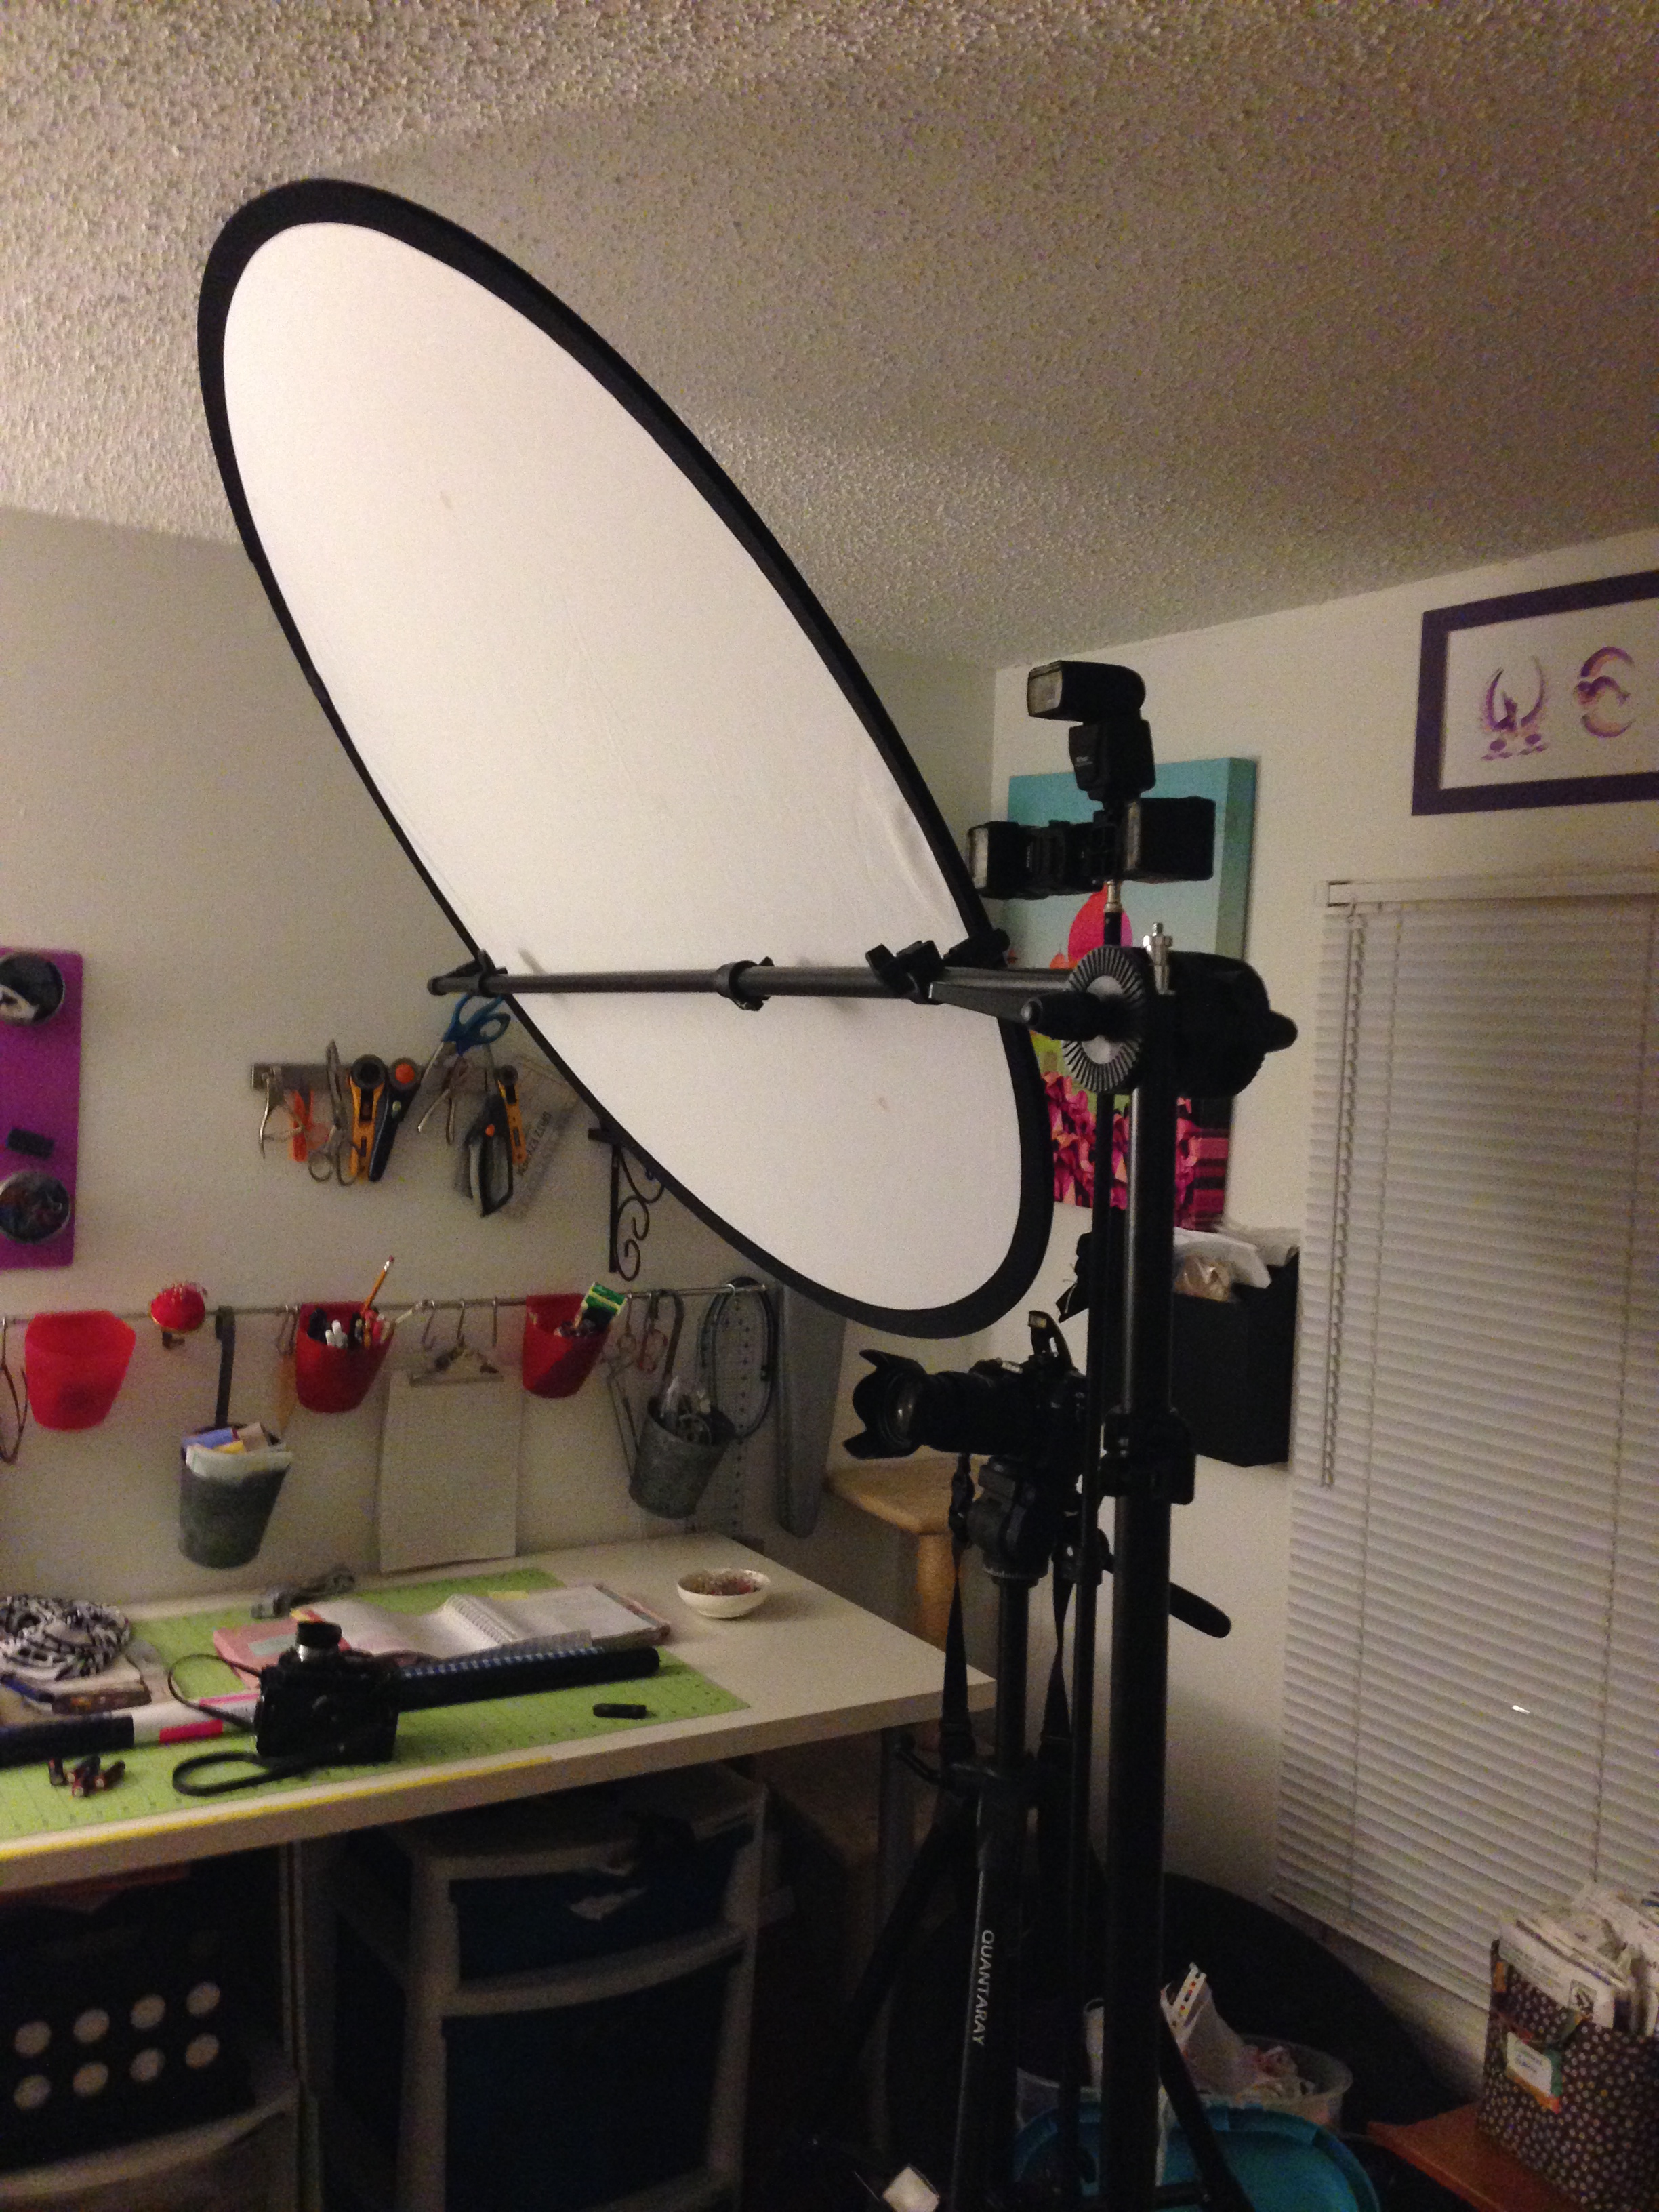
Wait?! What? This is a piece of overexposed bullshit…. Yes, exactly. That’s the point. This is the 1st shot. I’m throwing my light up, popping a light and seeing what’s up. But that’s what this is all about… knowing how to make the right adjustments. Alright… so let’s step back a minute. Here’s the setup and a couple things that I changed right away.

So here are a couple lessons that I also added about photoshop. Alright… let’s throw up some other shots and see how this progressed.

Ok. Now I’ve got the light right. Now let’s start getting people posed up:

Alright… so I’ve got the light about right and the guys on the end are “bookending” the photo. However, it’s hard to get 5 people to hit the cue at the same time.

Alright… so in the end, I had to fix Wendy’s head.

So… how do I approach editing something like this?
1. I want it warm, because that makes it inviting. #BasicPsychology
2. I want to lightly retouch the faces. Sometimes I have a tendency to over-do it. #MakeTheClientLookGood
3. I light to lighten up the irises and whiten teeth. #NoOneWantsButterTeeth
4. I try to get rid of distractions. For this photo, it means eliminating the stuff from the bottom right and left corners. I did my best to eliminate by copying-stretching-pasting pieces. #NoDistractions
5. Finally, remember the rules of composition. I emphasized balance and brightness. Remember, the eye is drawn to the brightest point of the photo, so I made sure to drop the background as much as possible. #Composition
6. I also went in and used a brown overlay layer to burn in the shadows. #DodgeAndBurn
Hope this was something you’re interested in.